Terms with a spyglass icon are defined at the bottom of the blog.
The Beans-to-Greens Grow Guide: Step 4
Step 4 of 6: Bulk the veg-gals

The Funky Beans Method:
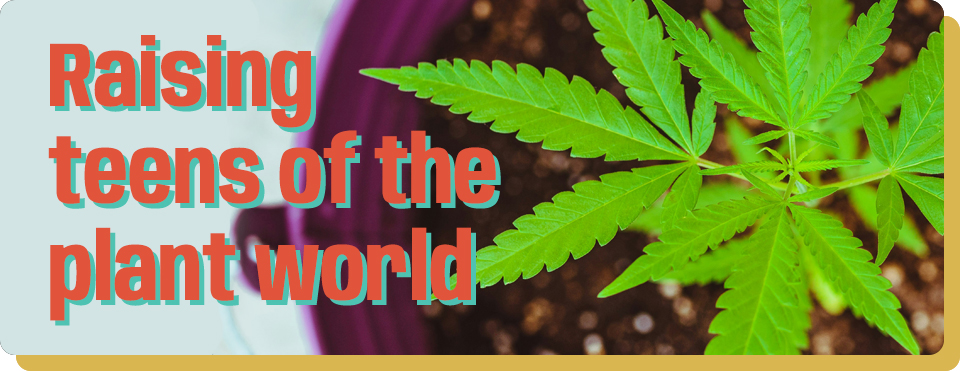
Raising the teens of the plant world
Ahhhh the vegetative phase. The teenagers of cannabis. And much like their human counterparts, plants in their veg-phase are being pumped full of hormones, drastically changing their physical appearance.
Known for being one of the most critical periods in the plant’s life cycle, this is when you, the grower, can really set them up for success as adults. When things are going smoothly, your plants are dark or bright green, vivacious, and drastically increasing in size over two to four weeks.
To identify the start of the vegetative phase, watch for true leaves to begin to grow in addition to the two round leaves of the seedlings – usually about one to two weeks after planting. For more about maintaining seedlings up to this stage, check out Step 3 of this blog series
 You’ll see forming, new branches, and the leaves will start sporting their characteristic serrated “fingers.” This is a sure sign that your young cannabis plant family is entering early veg.
This stage will be all about helping your plants strengthen, grow, and eventually, flower. We’ll talk all about flowering in Step 5.
Transplanting, applying nutrients, watering, and more…there is much to discuss. First, let’s make sure we’re on the same page with the kind of seeds you’ve sprouted.
Your seeds are either autoflower, feminized, or regular based on their breeding. Generally, autoflowers grow best outside, independently of photoperiod; feminized: inside, and regular: either. If you want more of a breakdown on which beans grow best in which environment, revisit Step 1 of this series.
But, by now you’ve probably already decided whether you’re growing in indoor pots or outdoor beds. The process for taking care of your veg gals will be similar in both environments, except that outdoor-bound plants will need to be transplanted first. Let’s dig in.
INDOOR GROWING
Stuff You’ll Need:

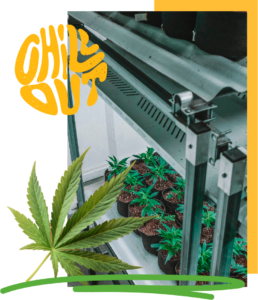
Light
We recommend choosing one of the three following options:
- LED lights
- Known for their efficiency, LED lights are not an ample heat source. So, they are an excellent choice for exclusively indoor growth, where the ambient conditions are easily controlled. If the leaf temperature drops too low, transpiration rates also drop (see more about transpiration in Step 3). Simply crank up the temperature to get those surface temperatures back up to optimal.
- HPS lights – High-pressure sodium (HPS) is an ideal option for greenhouse grows, as it emits a relatively high amount of heat and can help keep conditions prime for fall and early spring vegging and flowering cycles. For this reason, they burn too hot to be used for delicate seedlings and are not very energetically efficient systems.
- CFL grow lights or standard incandescent bulbs – Compact Fluorescent bulbs (CLFs) are easy to find and don’t burn as hot as standard bulbs. You’ll need both soft white and daylight bulbs to fulfill your plant’s complete spectrum of needs, especially if you’re planning to grow entirely indoors. T5 bulbs, in particular, are known for their weed-vegging capabilities.
Infrared temperature gun (more info in Step 3)
Humidistat & Thermometer (more info in Step 3)
Water with supplements – We widely employ the application of two supplements in a water solution: Organic Aloe Vera Flakes & Soil-Activating Mycrobes (mykos), detailed in Step 2 of this blog series.
Airflow – As would be the case in the great outdoors, cannabis plants thrive with some moving air. A standard fan works great.
A nutrient blend including nitrogen, phosphorus, and potassium (N-P-K) – Regardless of the brand, make sure its ratio is nitrogen-dominant and contains calcium, magnesium, and sulfur.
- Iron, boron, manganese, zinc, and molybdenum are additional micronutrients to ensure are included in this mix.
- More specifically, the ideal ratio blend for vegging is: 277(N) : 120(P) : 352(K) : 250(Ca) : 125(Mg).
- Note that we recommend a blend that is phosphorus and potassium blend, with little-to-no nitrogen in the next step in our Grow Guide: Step 5.
Veg-Out, baby
 The advantage of indoor growing is controlling your plants’ growing environment. The disadvantage… is that you’re controlling your plants’ growing environment, so you’ll need a fairly dialed-in system. Focus on these factors and enjoy this hugely developmental phase:
The Vapor Pressure Deficit (VPD, detailed in Step 3) should remain between 1-1.4 to maximize transpiration.
You can achieve this by keeping the conditions as follows:
Lighting – Ensure your plants are illuminated for 16-18 hours. The more light they have, the more they will photosynthesize. If you are growing Autoflowers indoors, 20 hours on and 4 hours off are ideal. 600 umol/s per the PAR value system detailed in Step 3.
Humidity – Keep it around 70% and no less than 65%
Temperature – The leaf surface temperature should be in the 75 to 80°F range. In order to maintain this, keep the ambient temperature between 80-85°F.
Airflow – Keep the air moving continuously.
Nutrients – Introducing nutrients slowly is key. Do this to avoid nutrient burn, which happens when the plants are receiving an excess of nutrients. Signs of this happening are leaves are crisping and curling, appearing as if they are physically burned.
- Alternatively, a nutritionally-deficient plant may turn yellow (a sign of chlorosis) or dry and brown (a sign of necrosis), which is signaling the need for another dose.
- Start out diluting the dose by about half of what is recommended on the product’s packaging. Then, slightly increase its strength with every application.
- We recommend applying nutrients about once per week.
Water – With the aloe solution every 2 to 3 days & mykos solution once per week. Focus on moderate, root-depth watering that can be achieved by pouring a small amount of water at the base of the plant.
OUTDOOR GROWING

Stuff You’ll Need:
Check out the items in the INDOOR GROWING section for details on each of these recommendations:
- Water with aloe and mykos supplements
- A nutrient blend including nitrogen, phosphorus, and potassium (N-P-K)
Veg-Out: transplant first
If you’ve been following along in this Funky Beans Beans-to-Greens grow guide series, indoor plants would have been initially planted in their final pots to avoid needing to transplant.
However, outdoor-bound plants must go outside during the early veg stage to get that natural glow. A note on seasonality: we recommend trying to time this grow so that the bulk of the veg stage happens through the peak of summer, when the sunlight is the strongest and longest throughout the day.
Here’s how we recommend tackling the veg phase for your outdoor plants:
- Transplant
- Once your plants are squarely out of their seedling stage, they are ready to be moved to their outdoor beds.
- Manage this carefully, maintaining the condition of the root ball and ensuring that there is at least 1 ft of space between plants.
- As soon as they have been transplanted, water them with the aloe & mykos solution right at the base of the plant, so that the water reaches the root ball.
- At this point, do not feed plants with nutrients. Give them five to seven days of acclimation time, watering them with the aloe & mykos solution only.
- After they have become accustomed to their new environment, you may then start feeding, per the instructions for nutrients in the INDOOR GROWING section.
- Water
- With the aloe solution every two to three days & mykos solution once per week.
Looks like you might be ready for Step 5 of 6
If you are an intermediate-to-expert level grower, you may want to explore integrating Low Stress Training (LST) into your caretaking of vegetative plants. This is a technique for increasing your plant’s yield through physical manipulation.
But, here’s the jist for heading into flowering:
A reduction in light availability triggers the plants to flower.
Your plants have grown a remarkable amount in a relatively short period of time. They’re going to keep growing and bulking until the photoperiod is reduced to 12 hours or less. In order for them to acquire the right amount of gains, let indoor plants veg for two to four weeks before reducing their light time.

Outdoor plants are at the will of nature. But, if you planted in the spring/early summer, their veg period will peak when the available sunlight does.
In the next blog of this series, we’ll take you through initiating generative growth: cueing your plants to flower. In this step, we’ll take you through trimming, bracing, identifying harvest time, and more regarding Feeding your flowers.
Are you reaping ALL the rewards of your Funky Beans?
Make sure you’re enrolled in our Funky Beans rewards program to earn CannaCredits with every. single. order. AND, there’s more! You’ll acquire more each time you share content or have a birthday. Bank ‘em, cash ‘em in, or save on your next purchase. Easy, breezy, beautiful BUDS.


 Instagram